
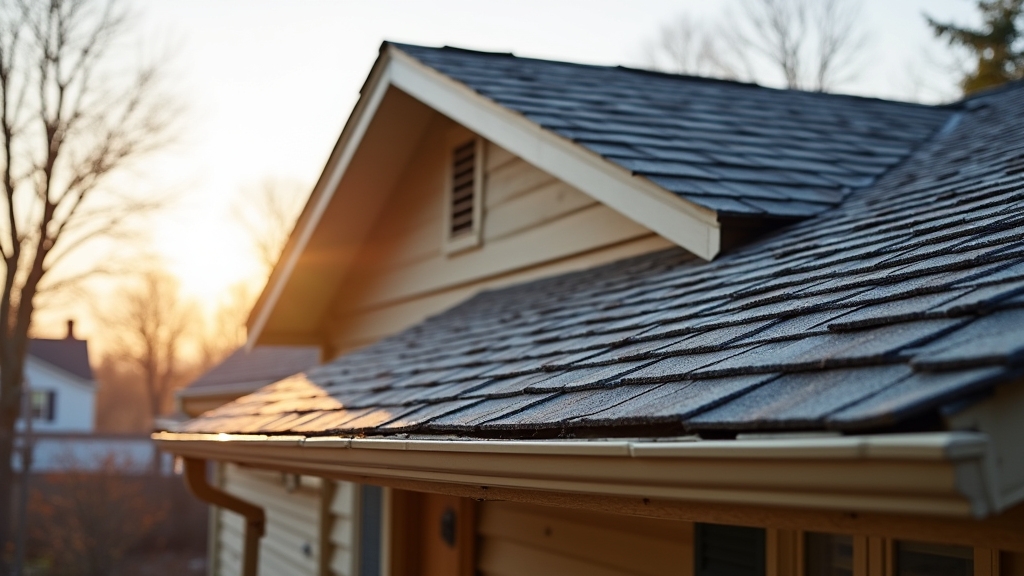
Common roofing problems include leaks, missing or damaged shingles, poor ventilation, ice dams, clogged gutters, and failed flashing. Prevention starts with twice-yearly inspections, post-storm checks, and prompt repairs. Look for damp insulation, musty odors, curled shingles, and corrosion at flashing. Maintain clear gutters and downspouts, prune branches, and reseal penetrations. Balance attic airflow with soffit and ridge vents, add baffles, and guarantee proper insulation. Use compatible fasteners and confirm deck integrity before repairs. More practical steps follow next.
Key Takeaways
- Inspect attics and ceilings regularly for moisture signs; check flashing, skylights, and plumbing boots to prevent leaks.
- After storms, replace missing or damaged shingles promptly and reseal flashing; verify deck integrity before repairs.
- Improve attic ventilation with balanced soffit and ridge vents; air-seal penetrations and add insulation to prevent heat buildup and ice dams.
- Keep gutters and downspouts clear, correctly pitched, and extended away from the foundation; add guards and prune overhanging branches.
- Schedule biannual roof inspections and document findings; address minor issues early to extend roof life and avoid costly damage.
Detecting and Preventing Roof Leaks
How can a homeowner spot trouble before water stains appear? A careful routine helps.
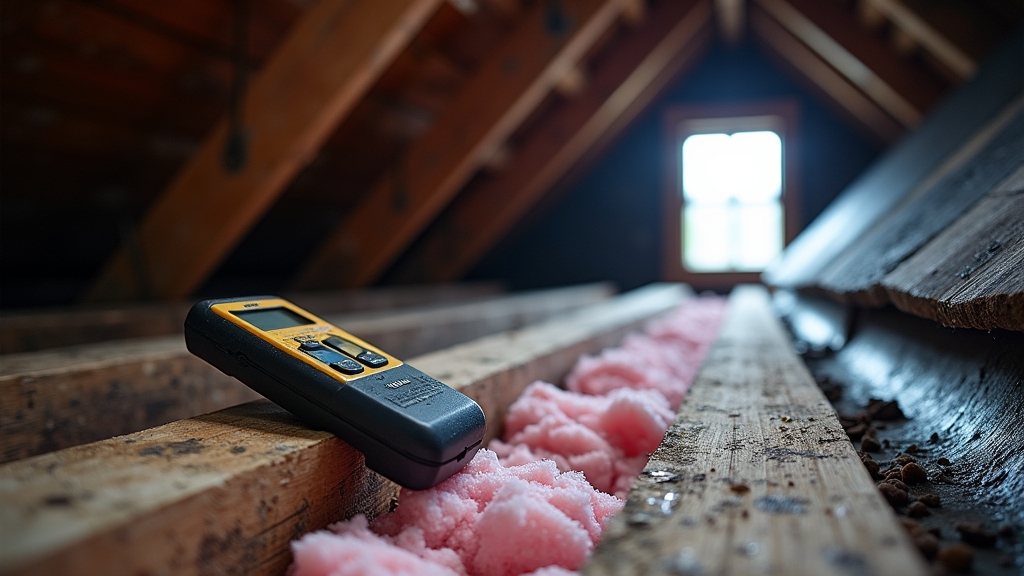
Regular leak detection begins in the attic: look for darkened wood, damp insulation, or a musty odor after rain. A simple moisture assessment with a handheld meter can confirm elevated humidity near vents, chimneys, and valleys.
Outside, observe flashing for gaps, sealant failure, or corrosion, and make certain gutters run clear so water doesn’t back up under the roof edge. Check skylight perimeters and plumbing boots for brittleness or cracks.
After storms, scan ceilings and top-floor walls for subtle discoloration or bubbling paint. Document findings with photos to track changes.
When uncertainty persists, schedule a professional inspection that combines infrared imaging with targeted testing to verify sources and prevent escalation.
Dealing With Missing or Damaged Shingles
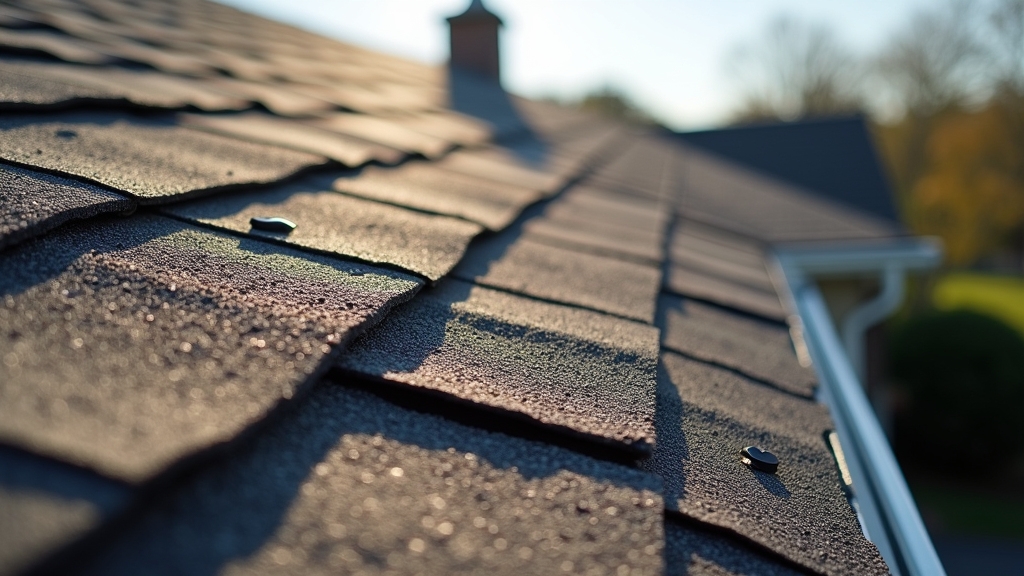
Wind, UV exposure, and foot traffic often loosen, crack, or tear shingles, creating fast paths for leaks and structural decay.
Prompt inspection after storms helps locate missing tabs, curled edges, exposed nail heads, and granule loss. When damage is isolated, simple swaps of matching shingles and proper sealing usually suffice. Broad patterns of wear call for weather impact assessments to determine hail bruising, wind uplift, or heat fatigue.
Inspect after storms: spot missing tabs, exposed nails, and granule loss; repair isolated damage, assess widespread wear.
Shingle replacement options range from individual-tab repairs to partial re-roofing or a full tear-off when underlayment is compromised. Use compatible fasteners, align courses, and reseal flashing to prevent capillary intrusion.
Confirm deck integrity before repairs. Regular maintenance—debris removal, timely caulk renewal, and periodic fastening checks—reduces repeat failures and preserves manufacturer warranties.
Addressing Poor Roof Ventilation
Poor roof ventilation often shows up as attic heat buildup, musty odors, condensation, or uneven shingle aging.
Recognizing these signs helps determine whether intake and exhaust are out of balance.
The discussion now turns to practical solutions that restore balanced airflow, including proper soffit and ridge vent configuration and adequate attic pathways.
Signs of Inadequate Ventilation
Curiously, a roof can reveal ventilation troubles long before leaks appear. Observant owners notice subtle ventilation indicators that suggest trapped heat and moisture are accumulating. An airflow assessment often begins in the attic: stale odors, elevated humidity, and uneven temperatures point to restricted intake or exhaust.
Shingle surfaces may age prematurely, and winter frost can linger under the deck, signaling poor air movement.
1) Attic clues: Excess condensation on nails or sheathing, musty smells, and insulation damp spots indicate moisture isn’t being expelled.
2) Exterior symptoms: Curling shingles, blistering granules, and wavy rooflines suggest heat buildup and prolonged stress.
3) Seasonal red flags: Ice dams at eaves, persistent summer attic heat, and mold on rafters reveal imbalanced ventilation patterns that warrant prompt inspection.
Solutions for Balanced Airflow
Several practical measures restore balanced airflow by pairing adequate intake with effective exhaust. A sound approach begins with calculating net free vent area and guaranteeing a near 50/50 split between soffit intake and ridge or roof exhaust.
Continuous soffit vents feed cool air while ridge vents release warm, moist air, promoting airflow balance across the attic.
Where soffits are blocked by insulation, baffles keep channels open from eaves to ridge. In homes without ridge lines, a combination of gable vents and low-profile roof vents can substitute, though they should not short-circuit each other.
Power vents or solar fans may assist when passive ventilation systems are constrained, but controls must prevent depressurization.
Finally, sealing attic bypasses and maintaining clear pathways guarantees designed airflow is achieved consistently.
Preventing Ice Dams and Winter Damage
Ice dams form when uneven roof temperatures allow melting and refreezing, so attention shifts to attic insulation and ventilation that keep the roof deck uniformly cool.
Proper air sealing, balanced intake and exhaust vents, and sufficient insulation reduce heat loss that triggers dam formation.
When snow accumulates, safe removal with roof rakes from the ground and avoidance of chisels, salt, or risky roof access helps prevent shingle damage and leaks.
Attic Insulation and Ventilation
While winter weather can be unforgiving, ice dams and cold‑season roof damage are largely preventable with proper attic insulation and ventilation. The goal is simple: keep attic temperatures stable and moisture under control.
Adequate insulation materials reduce heat loss from living spaces, limiting melt‑freeze cycles at the eaves. Balanced intake and exhaust ventilation preserves attic air quality, moving moist air out before it condenses on cold surfaces and feeds mold.
1) Assess and seal: Air‑seal ceiling penetrations, then verify insulation depth and coverage to meet local R‑value targets.
2) Balance airflow: Provide continuous soffit intake and ridge or roof‑top exhaust to achieve manufacturer‑recommended net free area.
3) Control moisture: Use bath and kitchen fan ducting to the exterior and install vapor retarders where appropriate, then monitor humidity.
Safe Snow and Ice Removal
Clear accumulated snow methodically to prevent ice dams and reduce roof stress. Observers should note that the safest approach favors reach-from-ground snow removal techniques, such as using a roof rake with a telescoping, non-abrasive head.
Removing the first 3–4 feet above the eaves reduces melt–refreeze cycles that feed ice dams. Work in small passes to avoid sudden load shifts.
Ice management strategies should prioritize prevention. Heated cables installed along eaves and valleys can maintain flow paths, while consistent attic insulation and ventilation limit uneven roof temperatures.
When ice forms, avoid chisels or rock salt that can damage shingles and gutters. Calcium chloride socks placed perpendicular to the eave can create melt channels.
For steep or high roofs, professional crews with fall protection remain the prudent choice.
Keeping Gutters and Downspouts Clear
Many roofing issues start in the gutters, where leaves, needles, and granules accumulate and impede water flow. When channels clog, water backs up under shingles, wets fascia and soffits, and overloads eaves.
Consistent gutter maintenance and correct downspout installation keep runoff moving away from the roof and foundation, reducing leaks, rot, and ice formation.
1) Inspect and clean quarterly: Remove debris, rinse troughs, and verify pitch toward outlets. Look for sagging hangers, seam gaps, and peeling coatings that signal early failure.
2) Optimize downspouts: Verify one downspout per 35–50 feet of gutter, secure tight joints, and extend discharge 4–6 feet from the foundation.
3) Add protective measures: Fit guards suited to local debris, install splash blocks or drains, and prune overhanging branches to limit future buildup.
Fixing Flashing and Sealant Failures
Though small in area, failed flashing and dried sealants cause a disproportionate share of roof leaks, especially at chimneys, skylights, vents, sidewalls, and valleys. Effective fixes start with identifying gaps, corrosion, or lifted edges, then replacing compromised flashing materials and renewing compatible sealant types. Fasteners should be reset into sound decking, and step or counter-flashing overlapped correctly to shed water.
| Issue | Action |
| Loose step flashing | Re-seat, add corrosion-resistant nails, integrate with underlayment |
| Cracked sealant at penetrations | Remove residue, clean, apply roof-rated polyurethane or MS polymer |
| Rusted metal | Replace with aluminum, galvanized steel, or copper; prime dissimilar metals |
Proper sequencing matters: install underlayment, then step flashing per course, then counter-flashing. Finish by tooling sealant, ensuring UV resistance and movement accommodation.
Managing Moss, Algae, and Debris Buildup
Despite appearing cosmetic at first, moss, algae, and debris shorten roof life by trapping moisture, lifting shingles, and accelerating granule loss. Shade, clogged gutters, and rough shingle surfaces create ideal conditions.
Effective control combines safe cleaning, water management, and surface treatments without harming roofing materials.
Effective roof care blends gentle cleaning, smart drainage, and protective treatments without damaging materials.
1) Practice careful moss removal: use a soft brush or low-pressure rinse, working downward with minimal abrasion. Avoid pressure washers that drive water under laps or strip granules.
2) Improve algae prevention: increase sun and airflow by trimming overhanging branches; install zinc or copper strips near the ridge to release ions that inhibit growth; apply EPA-registered algaecides per label.
3) Reduce debris accumulation: keep valleys and gutters clear to maintain drainage, fit gutter guards appropriately, and redirect splash zones to prevent organic buildup.
Scheduling Regular Inspections and Maintenance
When roof care is planned instead of reactive, inspections catch small defects before they become leaks and structural damage. A clear maintenance schedule sets expectations for frequency, scope, and documentation.
Most homes benefit from a roof inspection twice yearly—once after winter weather and once after storm season—plus checks after severe wind or hail. A professional evaluates shingles, flashing, sealants, penetrations, gutters, and attic ventilation. They note granular loss, lifted edges, cracked caulk, rust, loose fasteners, and biological growth.
Maintenance then addresses what was found: resealing flashing, securing shingles, cleaning gutters, trimming overhanging branches, and correcting minor ventilation issues. Records of each roof inspection help track patterns and warranty needs.
Consistent scheduling reduces surprise failures, extends service life, and optimizes repair timing and costs.
Frequently Asked Questions
How Long Do Typical Roofing Materials Last Before Replacement?
Typical roofing materials last 15–100 years, depending on roofing lifespan and material durability: asphalt 15–30, wood 20–30, metal 40–70, concrete/clay 50–100, slate 75–100. Climate, installation quality, ventilation, and maintenance greatly influence replacement timing and overall longevity.
What Roof Upgrades Can Lower Home Insurance Premiums?
Upgrades that can lower home insurance premiums include impact-resistant shingles, Class A fire-rated roofing materials, hurricane straps, fortified roof decks, proper underlayment, and secondary water barriers. Insurers often provide insurance discounts after wind mitigation inspections and documented code-compliant professional installation.
Does a New Roof Improve Energy Efficiency and Resale Value?
Yes. A new roof often boosts energy efficiency through better insulation and reflective materials, delivering energy savings. It also enhances curb appeal and buyer confidence, yielding resale benefits, shorter listing times, and potential appraisal increases in many markets.
Which Roof Colors Best Reduce Heat in Hot Climates?
Light colors like white, beige, and light gray reduce heat most in hot climates. Light colored roofs with high solar reflectance and reflective coatings deflect sunlight, lower attic temperatures, cut cooling loads, and improve comfort without altering structural design.
How to Choose a Trustworthy, Licensed Roofing Contractor?
They verify licenses, insurance, and references, then compare written bids and timelines. Contractor qualifications include manufacturer certifications, local permits knowledge, and safety practices. They assess roof maintenance plans, warranty terms, dispute resolution, and communication clarity before signing a detailed, itemized contract.
Final Thoughts
In the end, a durable, weather-ready roof comes from proactive care, timely repairs, and balanced maintenance. Spot leaks early, replace damaged shingles promptly, and keep attic ventilation in check to prevent moisture buildup and ice dams. Clear gutters and downspouts, maintain flashing, and manage moss or debris for consistent drainage and curb appeal. Most importantly, invest in routine professional inspections to extend roof life and protect your home’s structure from costly damage.
If you’re ready to strengthen your roof’s defense, the trusted experts at Roofing Sterling Heights MI are here to help. From roof inspections and roof replacement to asphalt shingles and metal roofing, our licensed professionals deliver precision and reliability on every project.
Protect your investment and keep your home safe year-round—contact Roofing Sterling Heights MI today for a free inspection and expert guidance on all your roofing needs.